Set up the Stripe webhook
A webhook is an address that Stripe automatically sends messages (“events”) to whenever something happens in your account. Churnbell provides this address for you. There are two ways to connect it to Stripe: the ⚡ express setup (one click) or the manual setup.
⚡ Express setup (recommended)
Churnbell creates the webhook in your Stripe account automatically — nothing to copy. You need a one-time restricted API key. Here is how to create it (screenshots show the German dashboard, the flow is identical in English):
- In the Stripe dashboard: Developers → API keys → “Create restricted key”.
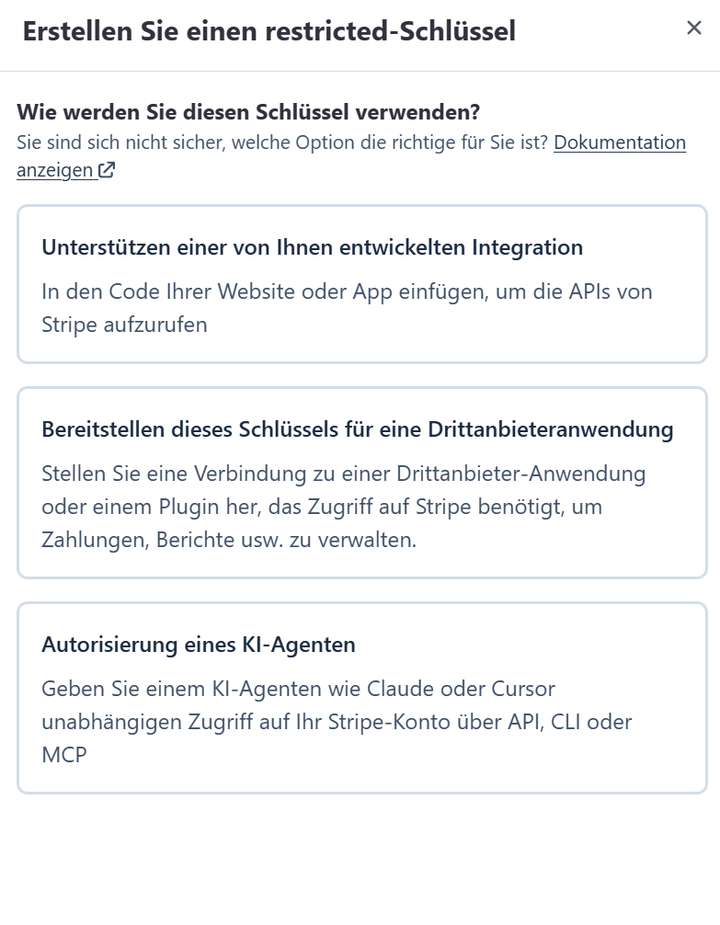
- When asked “How will you use this key?”, pick the first option (“Providing this key to support an integration you built”):
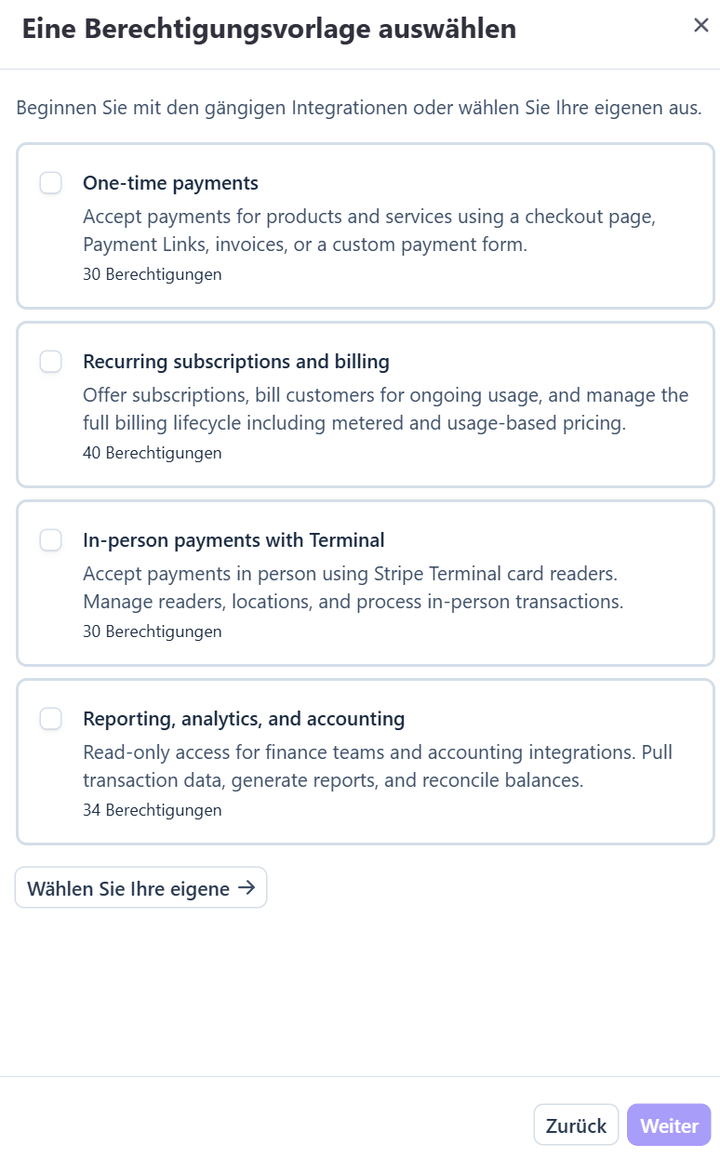
- On the permission template screen, do not pick a template — click “Choose your own →” at the bottom:
- In the permission list, set Webhook Endpoints to Write. Recommended: also set Customers to Read — your alerts will then show the customer’s email instead of just
cus_…:
- Create the key, copy the
rk_…value and enter it in Churnbell under Endpoints → ⚡ Express setup together with a name. Done — events start flowing immediately.
💡 You decide what happens to the key: leave the “keep the key” checkbox ticked and Churnbell keeps using it to enrich your alerts with customer emails. Untick it and the key is discarded after this single step and never stored. You can revoke the key in Stripe at any time — the webhook is unaffected.
Manual setup
Step 1: Create an endpoint in Churnbell
- Go to Endpoints in the app.
- Enter a name (e.g. “My SaaS (live)”) and click Create endpoint.
- Copy the displayed webhook URL (“Copy” button).
Step 2: Add the URL in Stripe
- In the Stripe dashboard: Developers → Webhooks → Add endpoint.
- Paste the copied URL.
- For “Select events”, either choose all events (the simplest option — you control what you care about later via rules) or pick specific ones, e.g.:
customer.subscription.deleted— subscription cancelledcustomer.subscription.updated— cancellation scheduled/revokedinvoice.payment_failed— payment failedcharge.dispute.created— dispute opened
Step 3: Store the signing secret
- After creating the endpoint, Stripe shows a signing secret (starts with
whsec_). - Paste this secret into the Signing secret field of your Churnbell endpoint and save.
⚠️ Without a signing secret, Churnbell rejects all events — it guarantees the messages really come from Stripe (cryptographic signature verification).
Optional: customer email in alerts
Stripe events often contain only the customer ID (cus_…). If you store a restricted API key in the endpoint settings (Stripe: Developers → API keys → “Create restricted key”, only Customers: Read), Churnbell shows the customer’s email address instead.